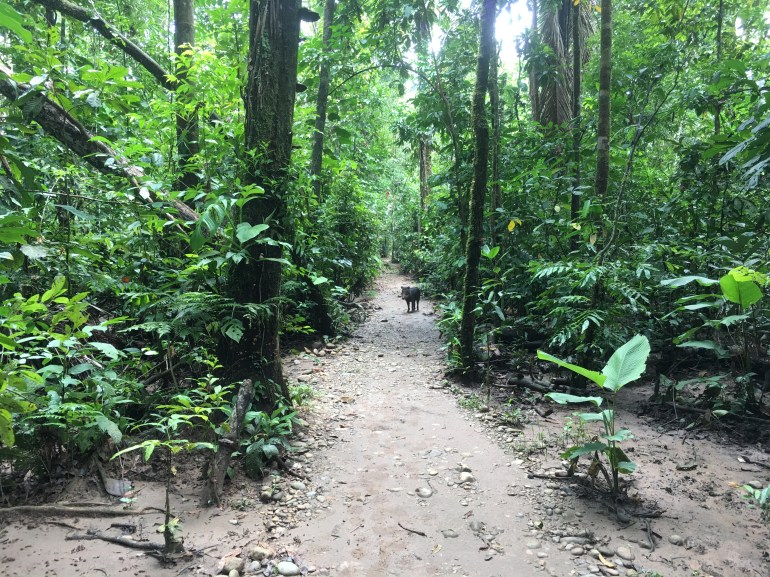
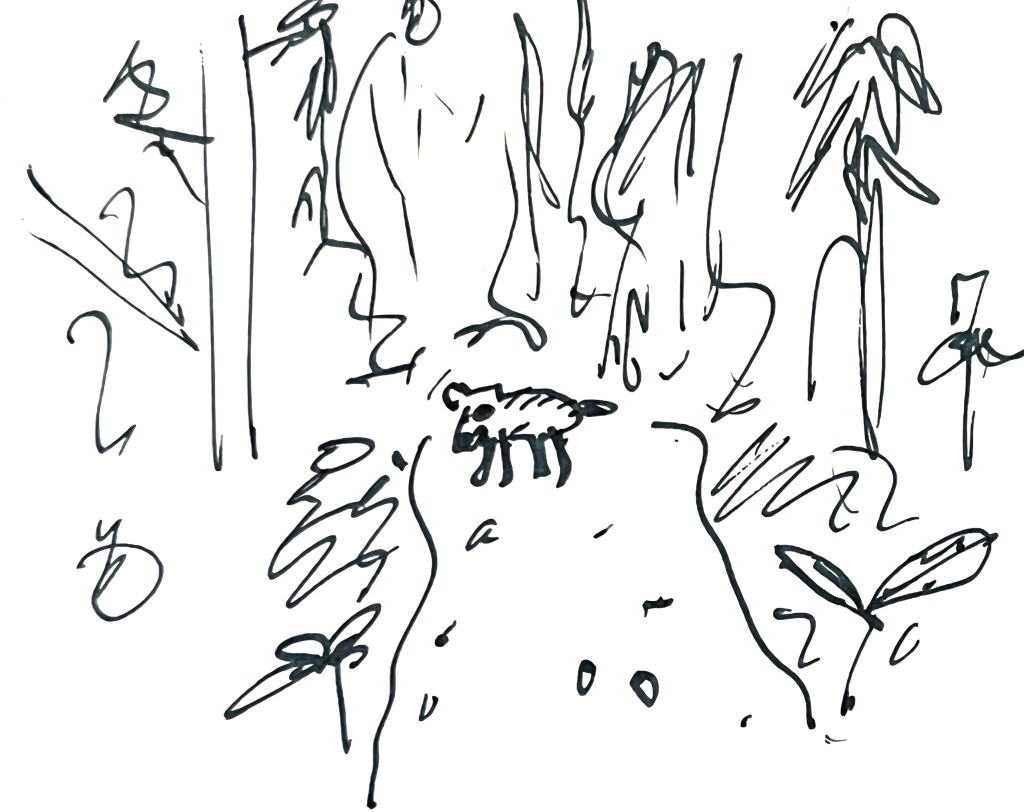
This image was made in the Amazon Basin of Peru, near the boarder with Brazil in the Reserva Nacional Tambopata (Tambopata National/Nature Reserve). At centre a peccary (wild boar) comfortably takes up space on the path. The larger herd of peccary (50+) are not visible and hiding amongst the undergrowth. When anxious, they make loud clacking sounds by bringing together their hollow teeth in rapid succession. When this happens you stay quietly still and wait for them to move on, and the path to clear.
\//\//\
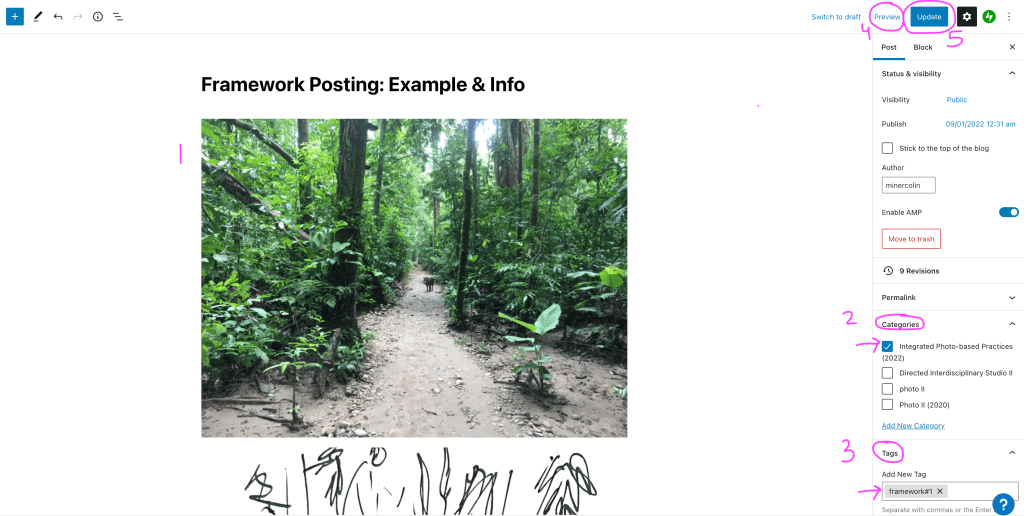
PROCESS of making a blog post
1. Add your images (primary images, followed by work in progress images including a sketch, all followed at the bottom with any text – context – that you want to provide). To add content hover mouse slightly below or above content, to look for the small box (blue or black) with “+” sign. Click and select “image”, and then upload (which takes you to menu for selecting the image file from your computer). You can also add content via the blue “+” icon at the top left of the page next to the website icon.
Process your images before uploading to the website/blog. Upload image files ONCE and only as jpeg (.jpg) and maximum 1200 pixels longest side (ie 1200 x 630 pixels).
2. On right hand side menu go to “categories” and select “Photo III/IV (2023)”. Deselect any other “categories” that may be auto selected.
3. On right hand side menu go to “Tags” and add corresponding name (use “Framework”) and press the “enter” key on your keyboard to activate the “Tag”.
4. The next step is to press the “preview” link in blue text (top right on the screen, next to the larger blue “Publish” button) and select “Preview in new tab” (desktop option best for our use). Click the new tab and look over your post, note any changes (formatting, typos, etc) that you would like to make, and then close this tab (helps avoid confusion on what tab to work with – editing vs. viewing).
5. On the tab of your post that you were editing* (not previewing) either: make the edits (preview again if necessary) and/or when you post is complete select the “Publish” or “Update” button at top right of the screen.
6. You can confirm your post by going to the website, selecting “Blog” from the menu, and finding your post to confirm it uploaded and offers the content in the way you intended.
*You are on the right page to make edits if you see the menu bar along the right side of the page along with links for “Preview” and “Publish” or “Update” at top right of the page.
Screen capture highlighting various steps in making a blog post: